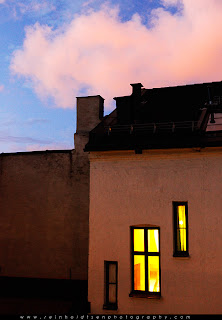
 It sometimes pays to look in the opposite direction of the sunset, in case there are clouds lit up by the sun.
Friday, 10 July 2009
After Sunset
 It sometimes pays to look in the opposite direction of the sunset, in case there are clouds lit up by the sun.
Thursday, 9 July 2009
Simple Resizing in Photoshop
Resizing your pictures before uploading them to web is a way of using less of your allowed space, for example on Flickr.
Select your crop tool, then enter the width and/or height of your final version. Enter px for pixels. In this example a width of 194 px and a height of 205 px is entered. Leave the resolution blank.
If you would like to resize your photo for a medium size on Flickr, the target size is 337 x 500 pixels. That means a maximum height of 500 px and a maximum width of 337 px.
For a portrait format you should therefore enter 500 px in the height field and leave the width blank if you want the size to be relative to your original size.
For a landscape format you must enter a width of 337 px but leave your height blank.
Crop!
Choose Save for Web to save your picture before uploading to web.
The Resolution field is relevant if you for example wish to resize your picture for print. Then you also want to specify your crop in centimetres.
Enter for example a width of 31cm and a heigth of 42 cm for a portait format, and a resolution of 300 dpi.
Cropping for Medium on Flickr will remove the possibility of viewing your image in a larger size on the web at a later stage, so make sure this is what you actually want.
Wednesday, 8 July 2009
Pottery in Black & White
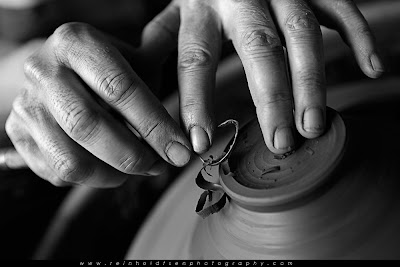
This picture is from my friends pottery, and I am working on a series to document her throwing process. I used only window light and a reflector which results in a highlights/shadows challenge.
Very proud to have achieved a Picture-of-the week award with an online photography magazine that has 700,000 unique visitors per week. Can't wait to get the canvas print home!
Here are the details from the black & white conversion, assuming you have a basic knowledge of Photoshop.
1) Shadows/highlights: I pulled the hightlights in to 17 but left the shadows at 0. (With Image->Mode: 16-bit, Layer->convert to smart filters, Image->Adjust
2) Levels adjustment layer, pulled the white bar in to 240
3) Black & White layer: R20, Y59, G41, C75, B23 and M36. I just pulled back and forth really until I liked the result
4) Sometimes I increase the contrast a bit with a layer but didn't here
5) Resize to 600 or 1000 px or an appropriate web size
6) Sharpen with High pass, approx 2-3. After Merge visible, Blending mode: soft light, Opacity maybe 80-90
7) Sharpen a little more with USM
Sunday, 5 July 2009
Within The Frame
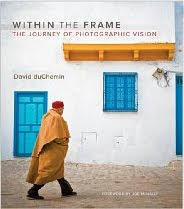 I would like to recommend this book! For the how
 an why on taking pictures. It can be ordered on Amazon.co.uk.
You can read a pdf with a sample from the book at Peachpit.com.
Do read The Travel Photographers review HERE.
The Wandering Photographer calls it the photo book of the year HERE.
You can read a pdf with a sample from the book at Peachpit.com.
Do read The Travel Photographers review HERE.
The Wandering Photographer calls it the photo book of the year HERE.
Saturday, 4 July 2009
The Photographer's Eye
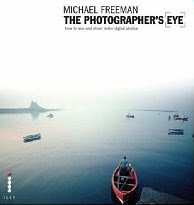
I am truly fascinated by books that help me "seeing" pictures. To understand when they work and when they don't.
The Photographer's Eye av Michael Freeman is to me the ultimate book on composition.
Photography changed completely for me after reading this book.
You'll find it on Amazon.
Friday, 3 July 2009
Subscribe to:
Comments (Atom)


